Thursday 28 August 2014

Cushions!

What can I say except, my sofa looks super snugly with my two new cushions!! You saw the first one earlier this week but now I can reveal the second one! 
Ta-da!! 
And, ta-da!
But there's two, I hear you exclaim. 
This cushion has two different sides. How super yummy is that?!
One side I did my much favoured traditional granny square design and on the other I just created as I crochet, beginning with a circle design and converting it to a square to complete. 
This cushion required a little more thought on making up as the cushion pad was white and did not sit well under the bright colours and against my black sofa. So, I covered the cushion pad in black material before slipping it in the crochet cover. 
I love both of the cushions and the bright colours make me smile every time I look at them. Am now trying not to be too precious over them as the children use them not as cushions are necessarily intended!
The husbands view? I need to make a third as we have a large sofa and a matching arm chair! Need another design idea me thinks, I can feel the creative thought mechanisms whirring as we speak. 
Currently working on some bunting for a Christmas present. Very excited as the overall design of the bunting I've never attempted before. Naughty of me to mention it really as you won't be able to view it until after Christmas incase one of you lets the secret out if the bag ;D!! What a tease I am. 
Until next time x

Tuesday 26 August 2014

Granny Square Delight! (8)

As promised! 
Not a bad collection me thinks. 
My eldest son's first comment? "I think you need to make some more!"
So, to get some perspective on the blanket's current size..
My eldest son next to it...mmm, he might be right. I do need some more ;)!!

Have been doing some other crafts with my daughter today. We, mainly me, made a pair of fleece dungarees for her baby! Well, it is getting cold outside!! 
Feeling rather chuffed as it even has contained feet. She is going to be one cosy baby this winter. Oh, yeah!!

Now off to make dinner before hubby returns ravenous for food :D

Then crochet time of course!! X

Monday 25 August 2014

Granny square delight! (7)

Many apologies for my delay in posting but I've been suffering with technical difficulties ;(! All sorted now - I have a new super duper phone that will hopefully revolutionise my world ;D!! Fingers crossed anyway. 

I have been attempting to catch up on some much neglected Granny square delight. Only two, but that's more than none!! 
Love the true traditional granny square feel of this one as well as the sneaky little hint of yellow in the centre.
This one feels fiery I think. The forest green contains the heat a little though.

I know I promised a picture of the entire collection of granny squares to date, really sorry that's not happened yet but I definitely aim to do that this week. 

In addition to the granny squares, I've also been making a couple of lovely cushions for us at home. One is completed and the other just needs crocheting together. Do you like my completed one? 
I can take absolutely no credit for the design - this has been taken from the lovely Lucy's blog over at Attic 24. If you've never seen it do go and browse, her blog is a feast for the creative juices. 

I love the bright colours against our black sofa. 

Very cosy to snuggle against even with those fab buttons. 
Will post pictures of the second one when it's done - different design so permission to become impatient to clap your eyes on it!! 

Ooh, so nice to be blogging again. Now back to family life for a smidgen ;D.

Til next time..
Happy crocheting x

Thursday 14 August 2014

Agnes the Unicorn pattern

I'm just going to go straight into this pattern without too much of a preamble. Enjoy - and please let me know if any of it does not make sense!!

I used Rico Creative cotton in White 80, Cardinal 11, Pink 64, and Fuschia 13, and a 4mm hook. Oh, and toy stuffing!
Agnes’ body –
Make a magic ring, ch1 and 6dc into ring, tighten magic ring and ss to join


Use a stitch marker throughout this project so you know where each round begins and ends, don't forget to move it as you go!
Rounds 1-5  [1dc, 2dc into next st] repeat until end of round
Rounds 6-8  dc in every st of previous rounds
Round 9  [5dc, dc2tog] repeat until end of round

Round 10  [4dc, dc2tog] repeat until end of round. The body will start to curl up like a pot which is good as you are creating the unicorn’s bottom!
Rounds 11 & 12  dc in every st of previous round

Round 13 [3dc, dc2tog] repeat until end of round

Rounds 14-24 dc in every st of previous rounds

Round 25 & 26 [3dc, dc2tog] repeat until end of round
Stuff the head from here on and add as you need to

Round 27 & 28 [2dc, dc2tog] repeat until end of round

Round 29 & 30 [1dc, dc2tog] repeat until end of round

Fasten off yarn leaving a long end that you can use too close up any opening remaining and for putting the unicorn together at the end.


Agnes’ legs –  don't forget to make 4!!

I gave Agnes stripy hooves but if you don't want to then just make the entire leg pattern without changing colour at all.

Using Cardinal, make a magic ring, ch1 and 6dc into ring, tighten ring and ss to join, place a stitch marker in here and move it as you start each round.

Rounds 1-3 [1dc, 2dc into next st] repeat until end of round

Round 4 dc in every st of previous round
Change colour to fuschia
Rounds 5 & 6 dc in every st of previous round
Change colour to pink
Rounds 7 & 8 dc in every st of previous round
Change colour to white
Rounds 9 - 17 dc in every st of previous round
Stuff the leg

Rounds 18 & 19 [1dc, dc2tog] repeat until end of round

Fasten off yarn leaving a long end that you can use too close up any opening remaining and for putting the unicorn together at the end.


Agnes’ head –

The basic pattern for the head I took from the book 'Animal Amigurumi to Crochet' by Teri Crews (you can see it in my book recommendations on the right). It's a fabulous little book but it must be remembered that it is American so the entire pattern needed rewriting into English Crochet terms. So here it is -

I used the pattern for the Giraffe as the head looked most unicorn-like!

Round 1 ch2, 6dc in 2nd ch from hook, don't forget your stitch marker!

Round 2 2dc in each st around

Round 3 [dc, 2dc in next st] repeat around

Round 4 [dc in each of the next 2 st, 2dc in next st] repeat around

Round 5 -7 dc in each st of previous round

Round 8 [dc in each of the next 3dc, 2dc in next st] repeat around
 
Round 9 & 10 dc in each st of previous round

Round 11 [dc in each of the next 4dc, 2dc in next st] repeat around
  
Round 12 & 13 dc in each st of previous round

Round 14  [dc in each of the next 5dc, 2dc in next st] repeat around

Round 15 dc in each st of previous round

Round 16 [dc in each of the next 5dc, dc2tog in next 2st] repeat around

Round 17 [dc in each of the next 4dc, dc2tog in next 2st] repeat around

Round 18 [dc in each of the next 3dc, dc2tog in next 2st] repeat around 

Round 19 dc in each st of previous round

Round 20 [dc in each of the next 2dc, dc2tog in next 2st] repeat around
 
Round 21 dc in each st of previous round
Begin to stuff the head firmly without stretching the stitches.

Round 22 [dc in next st, dc2tog in next 2st] repeat around
Fasten off leaving a long end for attaching head to the body

Agnes’ nose –

With Fuschia, ch7, 3dc in 2nd ch from hook, dc in next 4ch, then working in loops on other side of the chain, dc in next 4ch
Turn, 1ch, dc in middle 5ch to give a curve to bottom of the nose and then ss to join.
Fasten off with a long end and attach to the nose area of the head

Agnes' ears - don't forget to make 2!

Round 1 with white, ch2, 5dc in 2nd ch from hook

Round 2 2dc in each dc of previous round

Round 3 dc in each dc of previous round

Rounds 4 & 5 2dc in first dc, dc in each of the remaining dc of the previous round

Rounds 6 & 7 dc in each dc of the previous round

Round 8 2dc in first 2 dc, dc in each of the remaining dc of the previous round
Fasten off with a long end, using this end sew the bottom of the ear closed using a whipstitch and pull it tight as it will then give the ear a slight curve to it.
Sew ears onto head.

This picture shows all the component parts of the head before attachment. See picture at the bottom of this pattern for precise placement, but do feel free to attach them where ever you want to! 


Agnes's Horn -

The horn was a little bit of trial and error to work out how best to make it. I eventually went with the creation of a flat triangle which I could sew up the side and shape as I wanted as I sewed!

I made it stripy, but of course you don't need to, just continue the pattern in what ever colour you wish.

In Cardinal, ch12

Row 1 dc in 2nd ch from hook and in each ch to end

Row 2 turn, ch1, dc in each dc of previous row
Change colour to Fuschia
Row 3 turn, ch1, dc2tog, then dc in each remaining dc of previous row

Row 4 & 5 turn, ch1, dc2tog, then dc in each remaining dc of previous row
Change colour to pink
Row 6-10 turn, ch1, dc2tog, then dc in each remaining dc of previous row

Row 11 turn, ch1, dc2tog, fasten off leaving a long chain to attach horn to the forehead,
Use the fastened off lengths of each colour to sew up the sides of the horn and stuff as you go. 

Completing the Unicorn -
Sew together all of the component parts of your unicorn, use the image to help you.
Don't forget the eyes and the mouth line.


Agnes' Tail and Mane -

I've used the three colours Cardinal, Fuschia and Pink to make the tail and mane and then just separated the yarn strands in order to give them more body. Add more or less yarn in order to get the thickness you desire.

They attach in the same way so use the instructions for both.
For the tail I used 12 threads of 4 inches in length.
For the mane I used 48 threads in 3 inch lengths.

Start by putting your hook under one of the dc stitches on the head where you want the mane to be.


Place the yarn over your hook......


...and pull it through your work.


Pull the ends through the loop you've pulled through your work  and tighten to secure. Repeat with all of the yarn lengths.


Separate out the yarn strands to complete the look.

Ta-Da!! You have one completed Unicorn.


The safe arrival of Agnes, the Unicorn!

So sorry to have been away from my Blog for so long. The Summer really does cause days to just disappear and before you know it a week has gone by, and then two and then.....

As usual, lots to report!

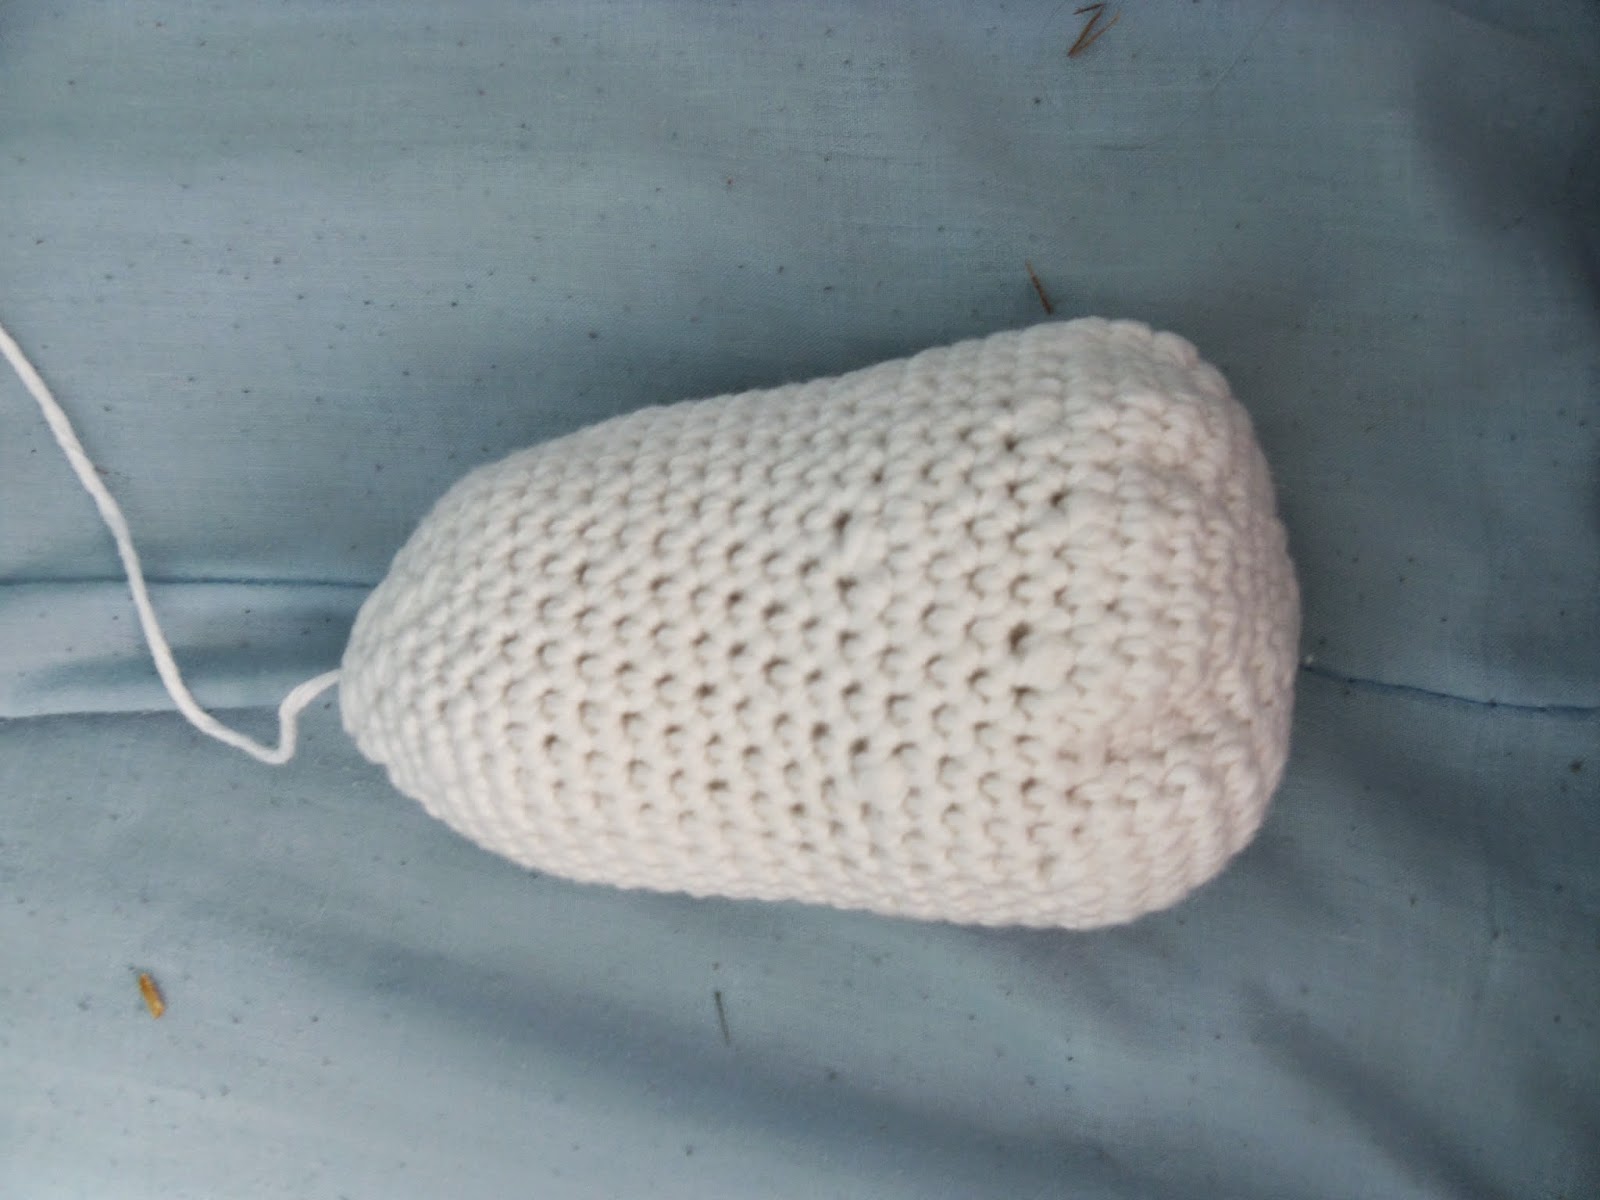
But first, the long awaited unicorn! (Will do a separate post with the pattern for those of you interested in creating a masterpiece of your own)

Really chuffed with how 'Agnes' has turned out. My daughter was desperate for a unicorn that looked like the one Agnes has in Despicable Me - hence her naming it 'Agnes'.
If I were to change any of it, I may make the horn slightly shorter but no real issue there. Oh, and the pink eyes! A demand from my daughter, she was adamant that they not be black!
My most proud part? The mane! It started life as strands of yarn that didn't look that impressive but after a long time separating the strands within the yarn it suddenly became a mane to be proud to shake and neigh about. Am assuming unicorns would neigh?!! They look like they would!
 
Last week we were camping near Dover in Kent. I'd forgotten the simple delights of camping and the great outdoors. We had great weather mainly with only a little rain.
 
I failed to get much crochet completed at all as I was caught out by the lack of light each evening. It's easy to forget how much you take indoor lighting for granted when you are at home. Caught up on some reading instead which was nice to do.
 
On one of the days we visited Dover Castle. If you find yourself that way at all and need a day out I can highly recommend it. The castle has the usual castle features but in addition it boasts an immense structure of underground tunnels which were used during the Second World War. It was amazing and very thought provoking.
 
In one of the castle museum rooms we came across this -
 
 
It's a scarf crocheted by Queen Victoria and one of eight she made and presented to members of her military.

 
Isn't it amazing?! Before I had children and found my enjoyment for a life of crochet, I used to be a Secondary School History teacher and so this scarf appealed to me in more ways than one. I felt at one with crochet and it's place in history.

 
Look at the stitches. For those of you who I have taught to crochet you may recognise the granny square treble stitch nature of this scarf. It is just lovely. Rather like the sandy colour to it too. 
 
Made me think of my raspberry scarf that I made earlier this year. Looking forward to getting it back out in the Autumn. Just look at me walking in the steps of Queen Victoria ;)!!


Maybe we should all attempt a lovely crochet scarf for someone's Christmas present? Shall we challenge ourselves??